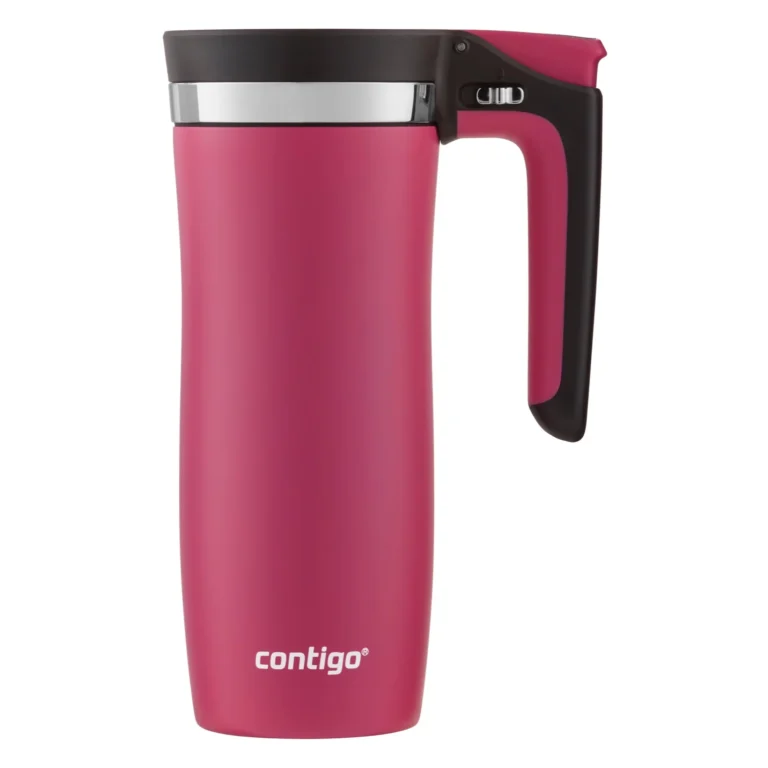
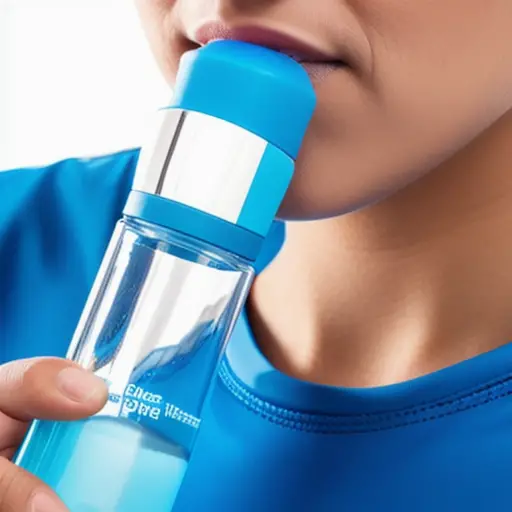
Are you guilty of neglecting the mouthpiece of your water bottle during cleaning time? If so, you may be exposing yourself to harmful bacteria and mold buildup. While cleaning the body of your water bottle is important, don’t forget to pay attention to the mouthpiece. Lucky for you, we’ve compiled some easy and effective ways to clean water bottle mouthpieces. Keep reading to learn how to keep your reusable water bottle free from germs and safe to use.
The importance of cleaning water bottle mouthpieces
It’s essential to stay hydrated, especially when you’re out and about. To ensure that you’re drinking clean and safe water, it’s essential to clean your water bottle regularly, especially the mouthpiece. The mouthpiece is where you drink from, and it’s the most important part of the water bottle. Neglecting to clean it can lead to bacteria growth and contamination, making your water unsafe to drink. Cleaning your water bottle mouthpiece is a quick and easy process that can help you keep your water bottle germ-free.
Regularly cleaning your water bottle mouthpiece has numerous benefits, including:
– Eliminating bacteria and other germs that can contaminate your water
– Removing residue and unpleasant odors
– Keeping your water bottle in good condition and extending its lifespan
In conclusion, cleaning your water bottle mouthpiece is necessary for your health and wellbeing. Be sure to clean it regularly using the simple cleaning methods mentioned above to ensure that you’re staying hydrated without endangering your health.
Why bacteria and mold buildup can be harmful
Bacteria and mold buildup can be harmful for a variety of reasons. Here are some of the most important reasons why it’s best to avoid letting them grow in your water bottle mouthpiece:
– Bacteria and mold thrive in wet environments, so your water bottle is the perfect breeding ground for them. If you don’t clean it regularly, they will continue to grow.
– Bacteria and mold can cause a wide range of health problems, from mild discomfort to serious illness. Some people are more susceptible than others, especially those with weakened immune systems or underlying health conditions.
– Mold can produce mycotoxins, which can be toxic if ingested. While not all molds are dangerous, it’s best to err on the side of caution and avoid exposure whenever possible.
– Bacteria and viruses can also be present in your water bottle, especially if you share it with others. This can increase your risk of getting sick.
By cleaning your water bottle mouthpiece regularly and thoroughly, you can help prevent the growth of harmful bacteria and mold. This will help keep you healthy and hydrated, and ensure that your water always tastes great.
A. Everyday cleaning using dish soap
Empty water bottle and add hot water
One the easiest and most effective ways to clean a water bottle mouthpiece is to start with hot water. This simple step can help loosen any hardened residue, bacteria, or mold buildup in the crevices of the mouthpiece. Simply empty the bottle and fill it up with hot water, making sure to cover the mouthpiece entirely.
• Let the hot water sit in the bottle and mouthpiece for a few minutes.
• This will also help to sanitize the mouthpiece by killing off any harmful bacteria.
• Hot water is an excellent first step in cleaning a water bottle before adding soap or other cleaning solutions.
• Be sure to use caution when handling hot water, especially if the water bottle is made of thin plastic or other materials that can warp or become damaged from heat.
• Once the mouthpiece has soaked in hot water for a few minutes, it’s time to add soap and start scrubbing.
Add a few drops of liquid dish soap
Adding few drops of liquid dish soap is a simple and effective way to clean your water bottle mouthpiece. It can help remove any buildup of dirt, grime, and bacteria that may be lurking inside your bottle. Here’s how you can do it:
1. Empty out any remaining water in your bottle before starting the cleaning process.
2. Fill your bottle with hot water, leaving enough space at the top to add a few drops of liquid dish soap.
3. Add a few drops of liquid dish soap into your bottle.
4. Shake the bottle vigorously to create a soapy solution. This will help to loosen any dirt or grime that might be clinging to the sides of the bottle.
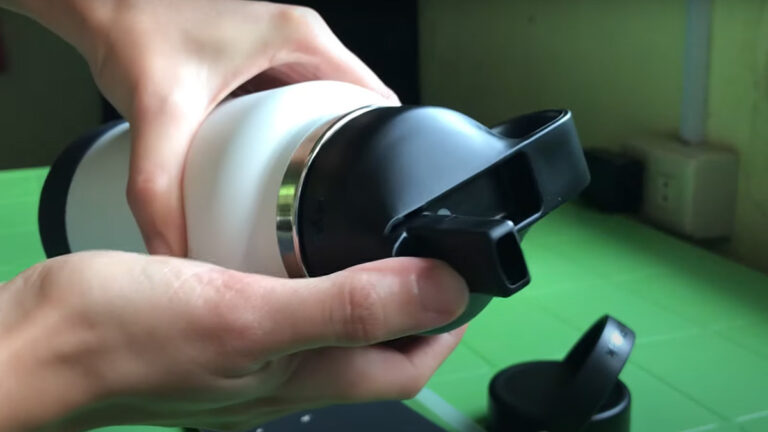
5. Use a bottle brush to scrub the mouthpiece thoroughly. Make sure to reach all the crevices and corners of the mouthpiece where bacteria may be hiding.
6. Rinse the mouthpiece and the bottle thoroughly with clean water.
7. Leave the bottle to air dry before using it again.
Regular cleaning of your water bottle mouthpiece with a few drops of liquid dish soap can help prevent the buildup of bacteria and mold, ensuring that your water stays fresh and clean for longer periods of time.
Shake well and scrub the mouthpiece
After emptying the water bottle and adding hot water with a few drops of liquid dish soap, the next step is to shake well and scrub the mouthpiece. This step is crucial because the mouthpiece of the water bottle is the most susceptible to bacteria and mold buildup due to frequent use. By shaking well and scrubbing the mouthpiece, all the accumulated dirt and grime will be removed, leaving the mouthpiece clean and safe to use.
To make sure that the mouthpiece is thoroughly cleaned, it is recommended to use a bottle brush. The bottle brush can easily reach crevices in the mouthpiece, ensuring that no dirt or residue is left behind. After scrubbing the mouthpiece, rinse it thoroughly with water to remove any soap residue.
Don’t forget to let the mouthpiece air dry completely before attaching it back to the water bottle. This will prevent any moisture from lingering, which can cause bacteria and mold to grow. Follow these steps regularly to ensure that your water bottle mouthpiece is clean and safe to use.
Rinse thoroughly and dry
After cleaning your water bottle’s mouthpiece, it is essential to rinse it thoroughly and let it dry completely. This is because any remaining soap, vinegar, or bleach residue can be unsafe to ingest and may cause harm. To rinse the mouthpiece, hold it under running water and make sure that all soap bubbles and vinegar/bleach residue are gone. Afterward, shake the bottle gently to remove any excess water and leave it upside down so that the remaining drops can drip out. You can use a towel to dry the outside of the mouthpiece, but make sure you leave it to air dry completely before screwing it back onto your water bottle. It’s important to note that if the mouthpiece is not dried completely, it can create a damp environment where bacteria and mold can thrive. So ensure that it is bone dry before using it again. By properly rinsing and drying your water bottle’s mouthpiece, you can enjoy your water bottle worry-free.
B. Deep cleaning using vinegar
Fill bottle halfway with equal parts vinegar and water
Vgar is a versatile cleaning solution that can be used in a variety of household cleaning tasks. When it comes to cleaning your water bottle mouthpiece, vinegar can be a great ally, especially if you’re dealing with stubborn mold buildup. To use vinegar to clean your water bottle mouthpiece, the first step is to fill the bottle halfway with equal parts vinegar and water. Then, shake the mixture well so that it covers the entire mouthpiece. Let the bottle sit overnight, so that the vinegar can work its magic and kill any remaining mold spores. Once the bottle has sat overnight, use a bottle brush to scrub the mouthpiece, making sure to get into all the creases and corners. Rinse the mouthpiece thoroughly with clean water, making sure all the vinegar residue is gone, and let it air dry. Vinegar is a natural and effective way to clean your water bottle mouthpiece, and it’s a great alternative to harsh chemicals and cleaners.
Shake and let sit overnight
One effective method for deep-cleaning your water bottle mouthpiece is by using vinegar. After shaking equal parts vinegar and water inside the empty bottle, let it sit overnight. This allows the acidity of the vinegar to break down and dissolve any buildup that has accumulated inside the mouthpiece over time. It also eliminates any bacteria, germs, or mold that could pose a health risk if left unchecked. This method is gentle enough to be done regularly, yet powerful enough to keep your water bottle mouthpiece squeaky clean and safe to use.
To maximize the effectiveness of this method, make sure to rinse the mouthpiece thoroughly with clean water and let it dry completely before using it again. This ensures that all traces of vinegar are removed and won’t affect the taste or quality of your water. By utilizing the shake and let sit overnight technique, you can maintain your water bottle in top condition and protect your health in the process.
Rinse thoroughly and dry
After cleaning your water bottle mouthpiece, one of the most important steps is to rinse it thoroughly and dry it properly. Even if you have cleaned your water bottle mouthpiece using the most effective method, if you do not rinse it well and dry it, the residue and moisture left can cause bacteria and mold formation, making your water bottle susceptible to contamination. Here are some tips on how to properly rinse and dry your water bottle mouthpiece:
1. Use running water – hold the mouthpiece under running water, moving it around to ensure that all sides are properly rinsed.
2. Use a bottle brush – if you have a hard-to-reach crevice, use a bottle brush to thoroughly clean and rinse the mouthpiece.
3. Be thorough – make sure that all the soap, vinegar, and baking soda residues are completely rinsed off, as even small amounts can cause taste issues or bacterial growth.
After rinsing, it is crucial to dry your water bottle mouthpiece completely. To prevent the growth of mold and bacteria, leave the water bottle and mouthpiece uncapped and upside down to air dry after cleaning or use a clean cloth or paper towel to remove any remaining moisture. A properly cleaned and dried water bottle mouthpiece will ensure safe and healthy hydrating experience.
C. Removing stubborn grime and mold using baking soda
Make a paste using baking soda and water
B soda is one of the most reliable and versatile options for creating a cleaning paste. When mixed with water, it forms a slightly abrasive paste that can be used to remove tough stains and buildup from various surfaces. This method is particularly useful for cleaning water bottle mouthpieces, which can easily harbor bacteria and mold if left uncleaned. To make the paste, start by mixing equal parts baking soda and water until a spreadable paste forms. Apply the paste to the mouthpiece creases and let it sit for 10 to 15 minutes before scrubbing it with a bottle brush. Rinse well with water and dry. This method is safe and effective for removing buildup and stains from stainless steel water bottles as well. For extra tough stains, mix baking soda with vinegar to create a paste, then apply it to the affected area and let it sit for a few minutes before rinsing it off with water.
Apply the paste into the mouthpiece creases
To thoroughly clean your water bottle mouthpiece, it’s important to get into the creases where grime and bacteria can build up. To do this, you’ll need to create a paste using baking soda and water. Start by mixing two tablespoons of baking soda with a small amount of water to create a thick paste. Then, apply the paste into the creases of the mouthpiece, making sure to cover all areas. Allow the paste to sit for 10 to 15 minutes, giving it time to break down any stubborn grime or mold. Next, use a bottle brush to scrub the mouthpiece, making sure to get in all of the crevices. Rinse the mouthpiece thoroughly with warm water, and dry completely before reattaching it to the water bottle. For best results, it’s recommended that you clean your water bottle mouthpiece regularly, depending on the level of use and grime buildup. By following these simple steps, you can keep your water bottle mouthpiece clean and safe to use, ensuring that you can stay hydrated without worrying about harmful bacteria and mold.
Let sit for 10 to 15 minutes
To effectively clean your water bottle mouthpiece, getting rid of all grime and mold build-up is crucial. One way to do this is by letting a mixture of baking soda and water sit in the mouthpiece for 10 to 15 minutes before scrubbing it clean. This paste helps to break down any persistent build-up in the creases and hard-to-reach areas of the mouthpiece. The baking soda abrasive nature and the sitting time make the scrubbing process more effective in removing even the toughest stains. Afterward, rinse the mouthpiece thoroughly and dry it completely before putting it back on the water bottle. Keep in mind that the duration of the cleaning process will depend on the level of grime or mold buildup. Therefore, for severe cases, it’s advisable to let the baking soda paste sit for longer or repeat the process until the mouthpiece is entirely clean.
Scrub with a bottle brush
After the water bottle mouthpiece in a mixture of equal parts vinegar and water, you might notice some remaining grime or mold. This is where a bottle brush comes in handy. Scrubbing the mouthpiece with a bottle brush is an effective method of removing any leftover buildup. The bristles of the brush can reach the crevices of the mouthpiece, ensuring a thorough cleaning. Make sure to thoroughly rinse the mouthpiece after scrubbing to remove any remaining vinegar or soap residue. Once you’ve completed the scrubbing process, dry the mouthpiece completely before reattaching it to the water bottle. A bottle brush can also be used to clean the inside of the water bottle, especially if it has a narrow neck. You can create a cleaning solution using warm water and dish soap, dip the bottle brush into the solution, and scrub the inside of the bottle thoroughly. Rinse the bottle well with warm water, and let it dry completely before using it again. Remember to choose the cleaning method based on the level of grime or mold buildup, and your water bottle will remain clean and safe to use.
Rinse and dry
After cleaning your water bottle mouthpiece, the final step is to rinse and dry it properly. It is important to rinse the mouthpiece thoroughly with warm water to remove any soap or cleaning solution residue. This will prevent any unwanted tastes or smells from lingering in your water and ensure a clean drinking experience. After rinsing, allow the mouthpiece to air dry completely before reattaching it to your water bottle. Avoid using a towel or cloth to dry the mouthpiece as they can introduce additional bacteria into the clean mouthpiece.
For a more thorough cleaning, you can fill your water bottle with equal parts vinegar and water and let it sit overnight to kill any remaining bacteria. After rinsing and air drying, you can also use a paste made from baking soda and water to scrub away stubborn grime. Choose the cleaning method according to the level of grime or mold buildup in your water bottle and ensure that the mouthpiece is properly rinsed and dried after each use to prevent bacteria and mold buildup.
Choose the cleaning method depending on the level of grime or mold buildup.
It important to understand that not all water bottle cleanings are created equal. Depending on the level of grime or mold buildup, you may need to adjust your cleaning method accordingly. Here are some tips to keep in mind:
– For everyday use, warm water and liquid dish soap should suffice for a basic cleaning.
– If you notice mold or mildew, a solution of vinegar and water left overnight can do the trick.
– For deeper cleaning, a mix of baking soda and bleach can help remove stubborn grime. Remember to wear gloves when using bleach and never mix bleach and vinegar.
It’s also important to note that different types of water bottles may require different cleaning methods. Glass water bottles may require gentle agitation with dish soap, while stainless steel bottles can benefit from a vinegar soak. Reusable plastic bottles may need some extra TLC with a combination of vinegar and baking soda.
No matter what type of water bottle you have, remember to thoroughly rinse and dry it after cleaning before using it again. With the right cleaning method, you can ensure that your water bottle stays clean and safe to use.