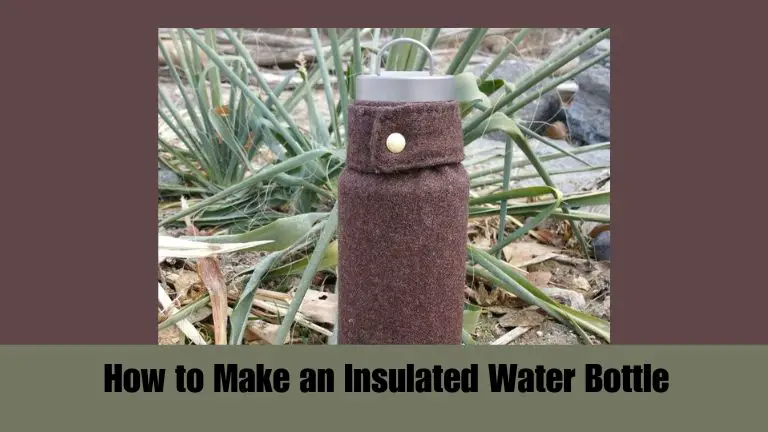
Making an insulated water bottle is actually easier than you think. It only takes a few simple steps to create a reusable and affordable container to keep your drinks hot or cold. Whether you’re looking to save money on bottled water or simply want to add a personal touch to your water bottle, this article will show you how to make an insulated water bottle at home.
Insulated Water Bottles
Insulated water bottles have become increasingly popular among individuals who are concerned about the environment and their health. These bottles help keep your drinks at the right temperature for a longer period. Whether it is hot or cold.
You can use them on hiking trips, long commutes, or even at work to ensure that you stay hydrated all day.
Making an insulated water bottle is easy and cost-effective. To start some necessary components need.
Materials Needed
Here are the materials you will need to make an insulated water bottle:
- Water bottle: Look for a stainless steel or metal water bottle that is double-walled and vacuum-sealed. This will help keep your drinks hot or cold for hours. If you haven’t steel bottle glass or even BPA-free plastic bottles can also use it. But the best is stainless steel.
- Insulation material: You can use a variety of insulation materials such as foam, felt, or neoprene. Cut out a piece large enough to wrap around your water bottle and secure it using glue or tape.
- Decorating material: To personalize your water bottle, consider adding stickers, decals, or paint and silicone adhesive. Make sure to choose non-toxic materials that won’t interfere with the insulation properties of the bottle.
Step 1: Preparing the Bottle
The first step in making an insulated water bottle is preparing the bottle itself. You can use any type of bottle that suits your needs, from glass to stainless steel or even BPA-free plastic. Make sure that your chosen bottle is clean and dry before you begin the insulation process.
Next, measure the height and circumference of your chosen water bottle so that you can cut a piece of insulating material to fit perfectly around it.
Step 2: Adding Insulation
In the second step, need to adding insulation to the inner walls of the container. The insulation material will create a buffer between the external temperature and your drink, keeping it at its desired temperature.
To start, get yourself some high-quality insulation material such as closed-cell foam, felt, or fiberglass. Cut out pieces of material that are slightly smaller than the size of your bottle’s interior walls.
Then, use glue to attach them to the inside surface of your bottle. You can use single-sided tape to hold them in place until they adhere correctly.
After applying all of the insulation materials, apply another layer of glue over them for extra adhesion and protection from any wear and tear they may undergo during normal usage.
Step 3: Sealing the Bottle
This is a crucial part of the process as it ensures that your bottle will keep your drinks hot or cold for longer periods of time.
The first thing you need to do when sealing your insulated water bottle is to make sure that it’s completely dry. Any moisture left inside the bottle can compromise its insulation capabilities. Once the bottle is dry, apply a small amount of silicone adhesive around the rim of the lid and on any areas where there are gaps or crevices.
After applying the silicone adhesive, screw on the lid tightly and wipe off any excess glue with a damp cloth. Let it dry for at least 24 hours before using it again.
Step 4: Testing and Usage Tips
Once you’ve made it, there are a few tips and tricks you should know to ensure that your bottle stays in top condition.
When it comes to testing your insulated water bottle, the first thing you should do is fill it up with ice-cold water and check how long it takes for the ice to melt. This will give you an idea of how well-insulated your bottle actually is. If the ice melts quickly, then there may be some improvements that need to be made.
Another important aspect of using an insulated water bottle correctly is cleaning it properly after each use.
So yeah! by following these steps, you will complete making an insulated water bottle at home.
Some Question Answers:
Can I make insulated water bottle with plastic bottle?
How do people make insulated water bottles?
Is making insulated bottle at home works?
Last Words
Making an insulated water bottle is a great way to save money and reduce waste.
With the right supplies and steps, you can make your own insulated water bottle in a few hours. It’s also a fun project that you can do with your family or friends.
Furthermore, having an insulated water bottle is an easy way to stay hydrated throughout the day, no matter how busy you are or what temperature it is outside.
If you have an insulated bottle you might have a question Can You Put Insulated Bottles in the Fridge? So let’s continue with the insulated water bottles.