Making a blender bottle from scratch is a challenging process that requires specialized skills and tools. However, with the right materials and techniques, you can customize an existing blender bottle or replace certain parts to suit your needs. Also can make a blender bottle. So let’s start the process:
Details Guide: How to Make a Blender Bottle
Parts Needed:
Firstly, you will need a shaker ball. This small wire ball helps mix your ingredients smoothly and easily. It’s the key component in creating a perfect drink consistency without any clumps or chunks.
Shaker balls can be found at most health stores, online retailers, or even in the kitchen section of department stores.
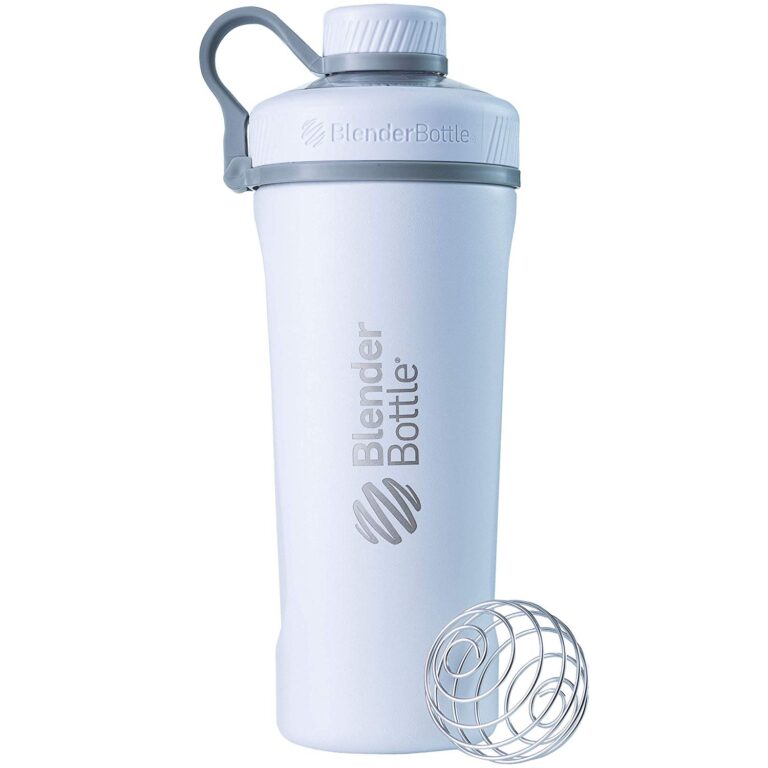
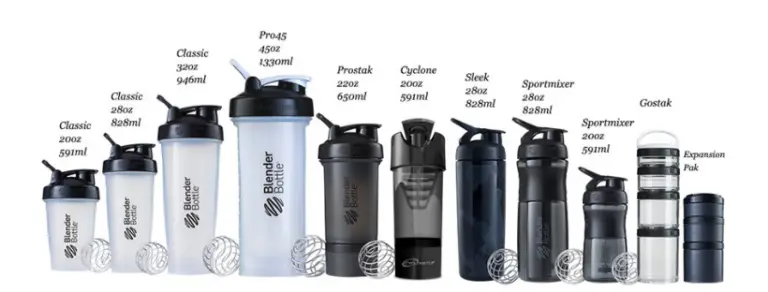
Next up is the actual bottle itself. A good quality bottle will ensure that it doesn’t leak and is sturdy enough to withstand daily use. Look for bottles with secure lids made from durable materials such as plastic or stainless steel.
Step 1: Choosing a Bottle
When it comes to making a blender bottle, the first step is choosing the right bottle. The bottle you choose should be able to withstand vigorous shaking without breaking and have a tight-fitting lid to prevent leaks. Here are some key factors to consider when selecting your blender bottle:
First, think about the size. Do you want a small, portable bottle for on-the-go use or a larger one for home use? Next, check the material – glass bottles can break easily and plastic ones may absorb odors over time. Stainless steel or BPA-free plastic are good options that will hold up well over time.
Once you’ve selected your preferred material and size, consider other features such as measurement markings on the side of the bottle or an added mixing ball for more efficient blending.
Another important consideration is the ease of cleaning – look for bottles with wide openings and dishwasher-safe materials for convenience.
Step 2: Attaching the Blender Ball
For the next step you need to do is to ensure that your blender ball is clean and dry. Any moisture or residue left on the ball can affect its ability to mix up your drink properly.
Once you’ve cleaned the ball, place it inside the bottle. Make sure it sits in the center of the bottle and doesn’t touch any of the sides or bottom. This will allow it to move around freely when you shake the bottle.
Step 3: Filling the Bottle
Here are some tips to follow for filling the bottle:
First, measure out the amount of liquid you want to add to your bottle using the measurement markings on the side of the container. This will help ensure that you get the right amount of liquid in your shake and prevent spillage.
Next, add any additional ingredients that you want in your shakes such as protein powder, pre-workout supplements, or fruit. Make sure not to overfill the bottle so that there is enough space for shaking.
Step 4: Adding Liquid Ingredients
To add liquid ingredients to your blender bottle, start by measuring out the required amount of water, milk, or juice into a glass or jug. Once you’ve measured the right amount of liquid ingredients, pour it into your blender bottle before adding any solid components like protein powder or fruits.
When adding liquid ingredients to your blender bottle, be sure not to overfill it as this can lead to spilling during blending. It’s important to also ensure that you close the lid tight enough so that no liquids leak out during blending.
Finally, screw on the lid tightly and give it a good shake for 20-30 seconds until everything is well mixed together.
Step 5: Assembling the Lid and Drinking Spout
This is the final step in creating your own customized blender bottle that’s perfect for blending up smoothies, protein shakes, and more!
To get started, gather all of the necessary parts including the lid, drinking spout, silicone gasket, mixing ball, and any other accessories you may have added. Begin by placing the silicone gasket onto the rim of the bottle opening. Make sure it is securely in place as this will prevent any leaks or spills when using your blender bottle.
Next, insert the mixing ball into the bottom of your bottle. This will help ensure that your drinks are mixed thoroughly and evenly each time you use your blender bottle. Finally, attach the drinking spout to complete assembly. At the time the process ended.
Conclusion: Enjoy Your Creation!
Making a Blender Bottle is an easy and affordable way to stay healthy and hydrated. It is an essential item for those looking to make their own smoothies or protein shakes, as it makes blending ingredients quick and easy.
It’s also a great way to ensure that you are consuming the right amount of nutrients with every drink. With just a few simple steps and some basic kitchen items such as a blender, measuring cup, and blender bottle, anyone can make their own Blender Bottle at home.
Read more about How to Get Rid of Blender Bottle Smell?