Leaking water bottles are one of the most frustrating things. It can happen to anyone. Especially if you’re on the go. From damp clothes and bags to ruined electronics, a leaking water bottle can cause a lot of damage. But don’t worry. We’ve got you covered with tips on How to Stop Leaking Water Bottle.
Identifying the Problem:
Identifying the root cause of the leaking water bottle is crucial in order to find an effective solution.
There are several steps you can take to identify a leaking water bottle. You can start by inspecting the exterior of the bottle for any visible cracks, scratches, or dents that may cause leaks.
Additionally, You should also check the cap of the bottle. Ensure that it is tightly screwed on and not damaged or cracked.
Also, tilt the bottle sideways to see if water leaks out. And check the bottom of the bottle for any dampness or water droplets. Lastly, You can also put the bottle in a plastic bag. And leave it for a few hours to check for any water droplets or condensation inside the bag.
By following these steps, you can easily identify whether their water bottle is leaking or not and take necessary measures to prevent water wastage or any other problems.

Cleaning the Lid:
Cleaning the lid of your water bottle is an important step in preventing leaks. A dirty or grimy lid can prevent a proper seal, causing water to escape and creating a mess. Fortunately, cleaning the lid of your water bottle is a simple process that can be done with just a few common household items.
To clean your water bottle’s lid,
- Start by removing any remaining liquid from the container.
- Next, disassemble the lid by unscrewing all parts and separating them from one another.
- Then, using warm soapy water and a gentle scrub brush or cloth, thoroughly clean each piece of the lid until all dirt and grime have been removed.
- Rinse each part well under running water to ensure that no soap residue remains.
Once you have cleaned each part of the lid, dry them completely with a towel or leave them out to air-dry completely before reassembling the entire lid.
Inspecting the Seals:
Inspecting the seals of your water bottle is an essential step to prevent leakage. A leaking water bottle can be a huge inconvenience. Especially if you are on the go or in a rush. Fortunately, there are several ways that you can stop a water bottle from leaking by inspecting the seals.
- Firstly, check for any visible cracks or damage to the seal. If there is any damage, it’s best to replace it with a new one immediately.
- Secondly, ensure that the seal is aligned correctly and securely tightened onto the bottle opening without being too tight as this could cause damage over time.
- Thirdly, make sure that no debris or residue such as dirt or sand has accumulated on either side of the seal which could also cause leakages.
It’s also crucial to inspect how you’re handling your water bottles when carrying them around.
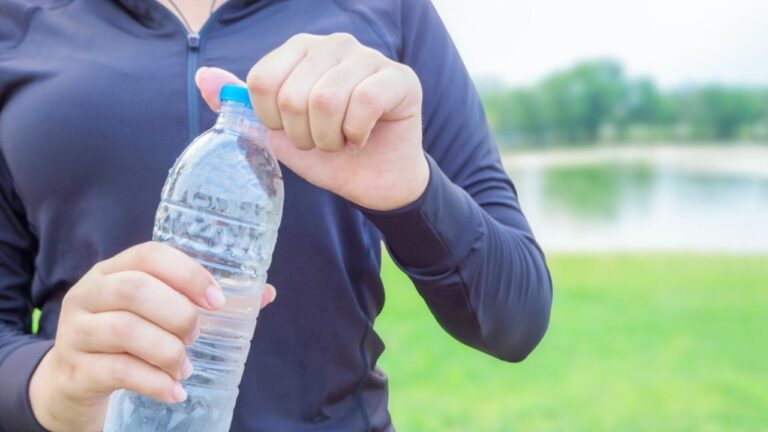
Tightening the Cap:
Tightening the cap of a water bottle seems like a simple task, but it can be frustrating when you still end up with leaks. Fortunately, there are several ways to stop your water bottle from leaking and keep your belongings dry.
Firstly, ensure that the cap is screwed on tightly. It may seem obvious, but sometimes we don’t turn the cap enough or accidentally loosen it while carrying the bottle. If you’re unsure whether it’s tight enough, give it an extra quarter-turn to secure it.
Secondly, check for damage to the seal or threading on the cap. Over time these areas can wear down and cause leakage. If you notice any cracks or defects in the seal, replace it with a new one.
Lastly, consider investing in a high-quality water bottle with a reliable sealing mechanism. Look for bottles that have multiple layers of protection against leaks and spills.
Replacing Parts:
Leaking water bottles is a common issue that can cause frustration and damage your belongings. Fortunately, there is usually a simple fix: replacing the faulty parts. In order to stop the leaking, it’s important to identify which part needs to be replaced.
The first step is to inspect the bottle for any visible cracks or damage. If you notice any cracks, this may be the source of the leak and you will need to replace the entire bottle. However, if there are no visible cracks, then it’s likely that one of the smaller parts is causing the issue.
When identifying which part needs replacement, start with the cap or lid of the bottle. A damaged seal or missing gasket can cause leaks around this area. If this doesn’t solve the problem, move on to inspecting other components such as valves or straws if your bottle has them.
Bottom Line:
In conclusion, leaking water bottles can be a hassle and a waste of money. Taking proper care of your water bottle and regularly inspecting it for any signs of wear and tear is key to keeping it leak-proof.
You can check the seal around the lid or try to pressurize the bottle with air to test for leakage. If you find that your water bottle is leaking, check if the seal needs to be replaced or if the lid needs adjusting.