
Are you tired of carrying your water bottle around in your hands or dealing with it rolling around in your bag? Crocheting a water bottle holder is a fun and practical project that can solve these problems. Not only will it keep your hands free, but it will also prevent your water bottle from getting damaged or lost.
Benefits of using a crochet water bottle holder
- Hands-free convenience: By using a crochet water bottle holder, you can keep your hands free while on the go. It’s perfect for outdoor activities like hiking, walking, or running where you need both hands.
- Prevents damage and loss: With a water bottle holder, you no longer have to worry about your water bottle rolling around in your bag or getting damaged. It provides a secure place to keep your bottle and prevents leaks.
- Customizable and stylish: Crocheting allows you to create a water bottle holder that reflects your personal style. You can choose different colors, patterns, and even add embellishments to make it unique.
Materials needed for the project
To crochet a water bottle holder, you will need the following materials:
- Yarn: Choose a sturdy yarn that is suitable for the weight and size of your water bottle.
- Crochet hook: The size of the hook will depend on the yarn you are using. Check the label on the yarn for suggested hook sizes.
- Scissors: Used for cutting the yarn.
- Stitch markers: Optional, but helpful for keeping track of your stitches.
- Darning needle: Used for weaving in ends and finishing touches.
With these materials in hand, you are ready to start crocheting your own functional and fashionable water bottle holder!
Remember to choose a pattern that suits your skill level and follow the instructions carefully. Crocheting a water bottle holder can be a fun and rewarding project for any crochet enthusiast.

Getting Started
If you love crafting and want to add a practical touch to your crochet repertoire, crocheting a water bottle holder is a fun and useful project to undertake. Not only does it provide a convenient way to carry your water bottle, but it also allows you to showcase your creative skills. Here’s how you can get started on this crochet journey.
Choosing the right yarn and hook size
The first step in crocheting a water bottle holder is selecting the right materials. When it comes to yarn, it’s important to choose one that is durable and can withstand the weight of the water bottle. Cotton yarn or a blend that includes cotton is a great choice, as it is both strong and lightweight. As for the hook size, it is typically best to use a hook that matches the recommended size on the yarn label. This will ensure that your stitches are the appropriate size and your finished holder fits your water bottle perfectly.
Understanding basic crochet stitches
Before you dive into crocheting a water bottle holder, it’s essential to have a basic understanding of crochet stitches. The two most common stitches used in this project are the chain stitch (ch) and the single crochet stitch (sc). The chain stitch forms the foundation of your work, while the single crochet stitch creates the fabric of the holder. Familiarize yourself with these stitches through online tutorials or books, and practice them until you feel comfortable.
Once you have chosen your yarn and hook size and familiarized yourself with the basic crochet stitches, you are ready to start crocheting your water bottle holder. Follow a pattern or create your own design, making sure to measure your progress against your water bottle to ensure the perfect fit. With a little patience and creativity, you’ll have a stylish and functional water bottle holder in no time. Happy crocheting!
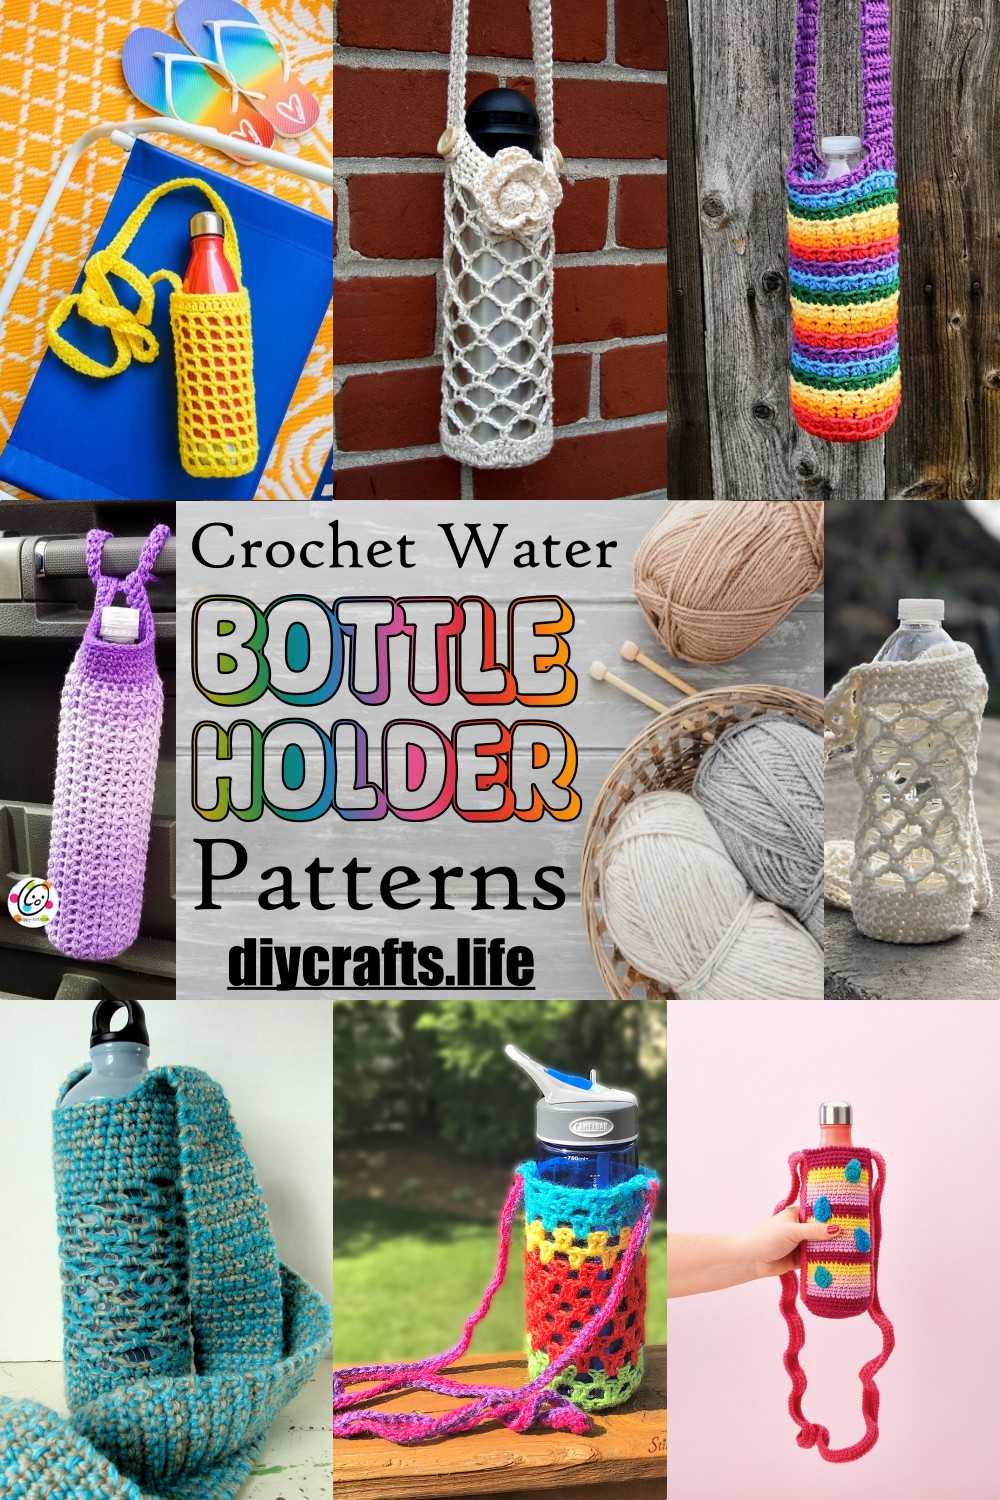
Crochet Water Bottle Holder Patterns
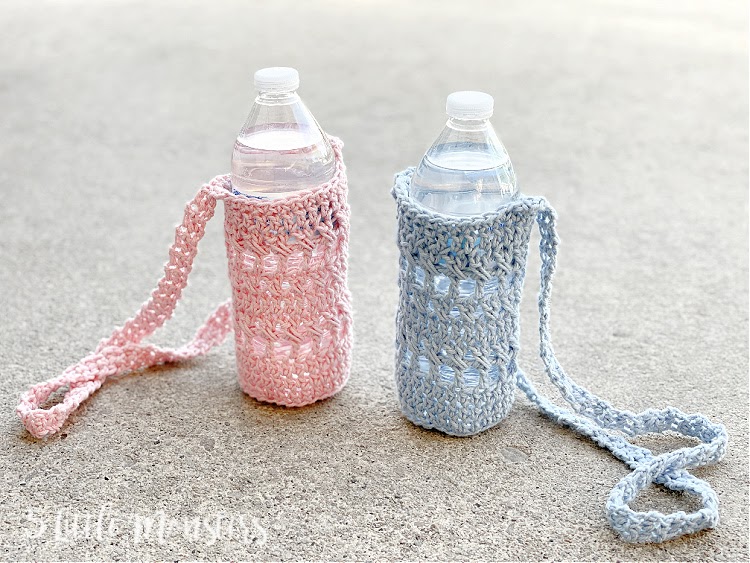
Pattern 1: Simple Single Crochet Water Bottle Holder
Are you looking for a fun and practical crochet project? Look no further! This simple single crochet water bottle holder is a great way to keep your water bottle secure and easily accessible. Here’s how you can make it:
- Gather your materials: You will need a crochet hook (size G or H), yarn in your chosen color, and a water bottle to measure the size.
- Start with a slip knot: Create a slip knot and slide it onto your crochet hook.
- Chain stitches: Chain the desired number of stitches to fit the circumference of your water bottle. Join the last chain to the first with a slip stitch to form a ring.
- Single crochet rounds: Work single crochet stitches in a spiral, without joining at the end of each round. Continue until the holder reaches the desired length, making sure it fits snugly around the water bottle.
- Fasten off: Cut the yarn, leaving a long tail. Thread the tail through the last stitch and pull tight to secure. Weave in any loose ends.
Pattern 2: Twisted Crochet Water Bottle Holder
If you’re feeling a bit more adventurous, you can try this twisted crochet water bottle holder. It adds a unique touch to your crochet project. Here’s how to make it:
- Follow steps 1 and 2 from the previous pattern.
- Chain stitches: Chain a multiple of 4 stitches, adding an extra 2 stitches for turning.
- Half double crochet rows: Work half double crochet stitches across each row until the piece reaches the desired length. Remember to chain 2 stitches at the beginning of each row and turn your work.
- Twisted effect: After completing the desired number of rows, twist the crochet piece once before joining the last row to the starting chain with slip stitches.
- Fasten off and weave in ends.
Get creative with colors and patterns to make your water bottle holder unique. These patterns are perfect for beginners and experienced crocheters alike. Happy crocheting!
Tips and Techniques for Crocheting a Water Bottle Holder
Crocheting a water bottle holder can be a fun and practical project for crafters of all skill levels. Whether you’re a beginner or an experienced crocheter, here are some tips and techniques to help you create a beautiful and functional water bottle holder.
Working in the round
When crocheting a water bottle holder, you’ll typically be working in the round. This means that instead of starting a new row at the end of each section, you’ll continue crocheting in a continuous spiral. Here are some tips for working in the round:
- Use a stitch marker: To keep track of your rounds, use a stitch marker to mark the beginning of each round. This will help you avoid losing track and ensure that your project stays even and uniform.
- Count your stitches: It’s important to keep track of the number of stitches in each round to maintain the correct shape and size of your water bottle holder. Counting your stitches at the end of each round will help you catch any mistakes early on.
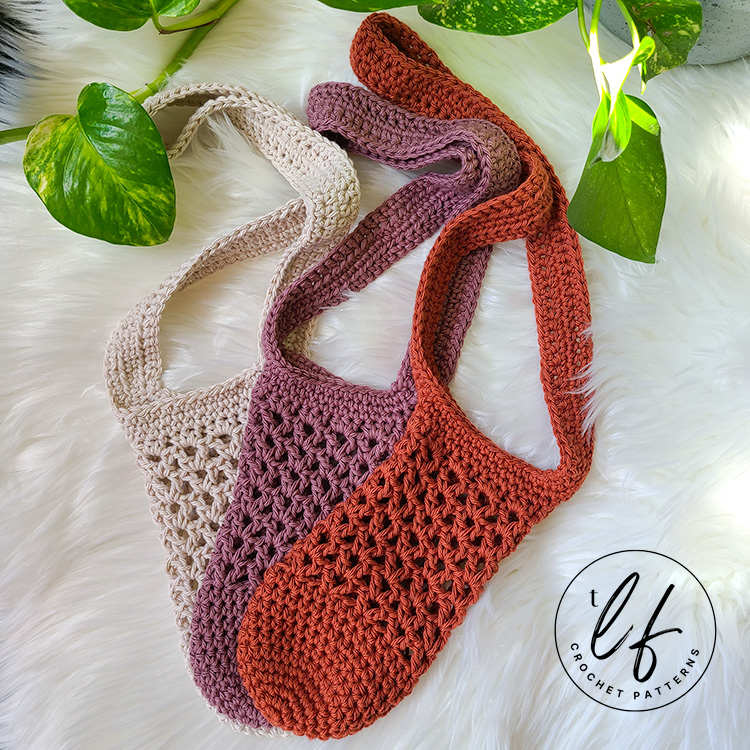
Adding straps and handles
One of the essential features of a water bottle holder is the straps or handles that allow you to carry it comfortably. Here are some techniques for adding straps or handles to your crochet project:
- Single crochet straps: To create sturdy straps, you can use single crochet stitches. Start by crocheting a chain that’s long enough to reach from one side of the water bottle holder to the other. Then, work single crochet stitches along the chain until you reach the desired strap length.
- Braided handles: For a decorative touch, you can create braided handles using several strands of yarn. Simply braid the strands together and attach them securely to the sides of the water bottle holder.
Remember, the key to successful crochet projects is patience and practice. Don’t be afraid to experiment with different stitches, colors, and patterns to make your water bottle holder unique and personalized. Happy crocheting!
Embellishments and Customizations
Are you looking to add a personal touch to your crochet water bottle holder? With a few simple embellishments and customizations, you can turn an ordinary water bottle holder into a unique accessory that reflects your style and creativity.
Adding decorative stitches or patterns
One way to make your water bottle holder stand out is by adding decorative stitches or patterns. You can experiment with different crochet stitches like the popcorn stitch, bobble stitch, or shell stitch to create interesting textures and designs. Additionally, you can incorporate color changes to create stripes, chevron patterns, or other geometric shapes. Let your imagination run wild and create a design that speaks to you.
If you want to add some extra flair to your water bottle holder, consider incorporating beads or buttons into your design. You can sew on beads or buttons as embellishments or use them as functional closures for the holder. Beads and buttons come in a wide variety of colors, shapes, and sizes, allowing you to add a pop of color or a touch of elegance to your creation.
Whether you choose to add decorative stitches, patterns, beads, or buttons, remember to consider the practicality of your embellishments. Make sure they don’t interfere with the functionality of the water bottle holder or cause any discomfort when carrying it.
With these embellishments and customizations, your crochet water bottle holder will become a unique and eye-catching accessory. Let your creativity shine and enjoy showing off your personalized creation wherever you go.

Finishing and Assembly
Fastening off and weaving in ends
To complete your water bottle holder, you’ll need to finish off your crochet work and secure any loose ends. Here’s how to do it:
- Cut the yarn, leaving a 6-inch tail.
- Thread the tail onto a yarn needle.
- Insert the needle under the loops of your last stitch.
- Pull the tail through to create a loop.
- Gently tighten the loop to secure it.
- Weave the needle through the stitches, going back and forth, to securely hide the tail.
Make sure to weave in all the loose ends throughout your project to give it a polished and professional look.
Now that your water bottle holder is complete, you may want to add closures or buttons to secure it around your bottle. Here’s how you can do that:
- Decide on the type of closure you want to use. This can be a button, snap fastener, or even a drawstring.
- Position your closure on the holder where it will best secure the bottle.
- Using a needle and thread or yarn, sew the closure securely onto the holder. Make sure to stitch it tightly so that the bottle stays in place.
- Test the closure to ensure that it securely holds the bottle.
Adding closures or buttons not only provides functionality but also adds a decorative touch to your water bottle holder. Get creative and choose closures that match your style and preferences.
By following these finishing and assembly steps, you’ll have a completed water bottle holder that is both functional and visually appealing. Enjoy using your handmade creation, or consider gifting it to a friend or loved one. Happy crocheting!